Hey 2017, what am I gonna do with you? Please, don’t leave me in a funk.
You showed up just a few weeks after I completed some pretty major projects at home and the office. And so far, I’ve been twiddling my thumbs wondering, “Now what?” I need something to do. As Colonel Brandon said in Sense and Sensibility, “Give me an occupation Miss Dashwood, or I shall run mad.”

Prior to demolition
2015 was fairly ambitious. New floors were installed. I hung crown molding and repainted a couple of rooms, made custom baseboard for the entire main level. And I was just starting to build new kitchen cabinets when, on September 30th 2015, I took an ambulance ride to the emergency room. Then followed back surgery on October 2nd, and again on November 13th. And so, I spent the rest of 2016 horizontal, watching Doctor Who and reading Ursula LeGuin’s Earthsea novels.

Demolition in progress
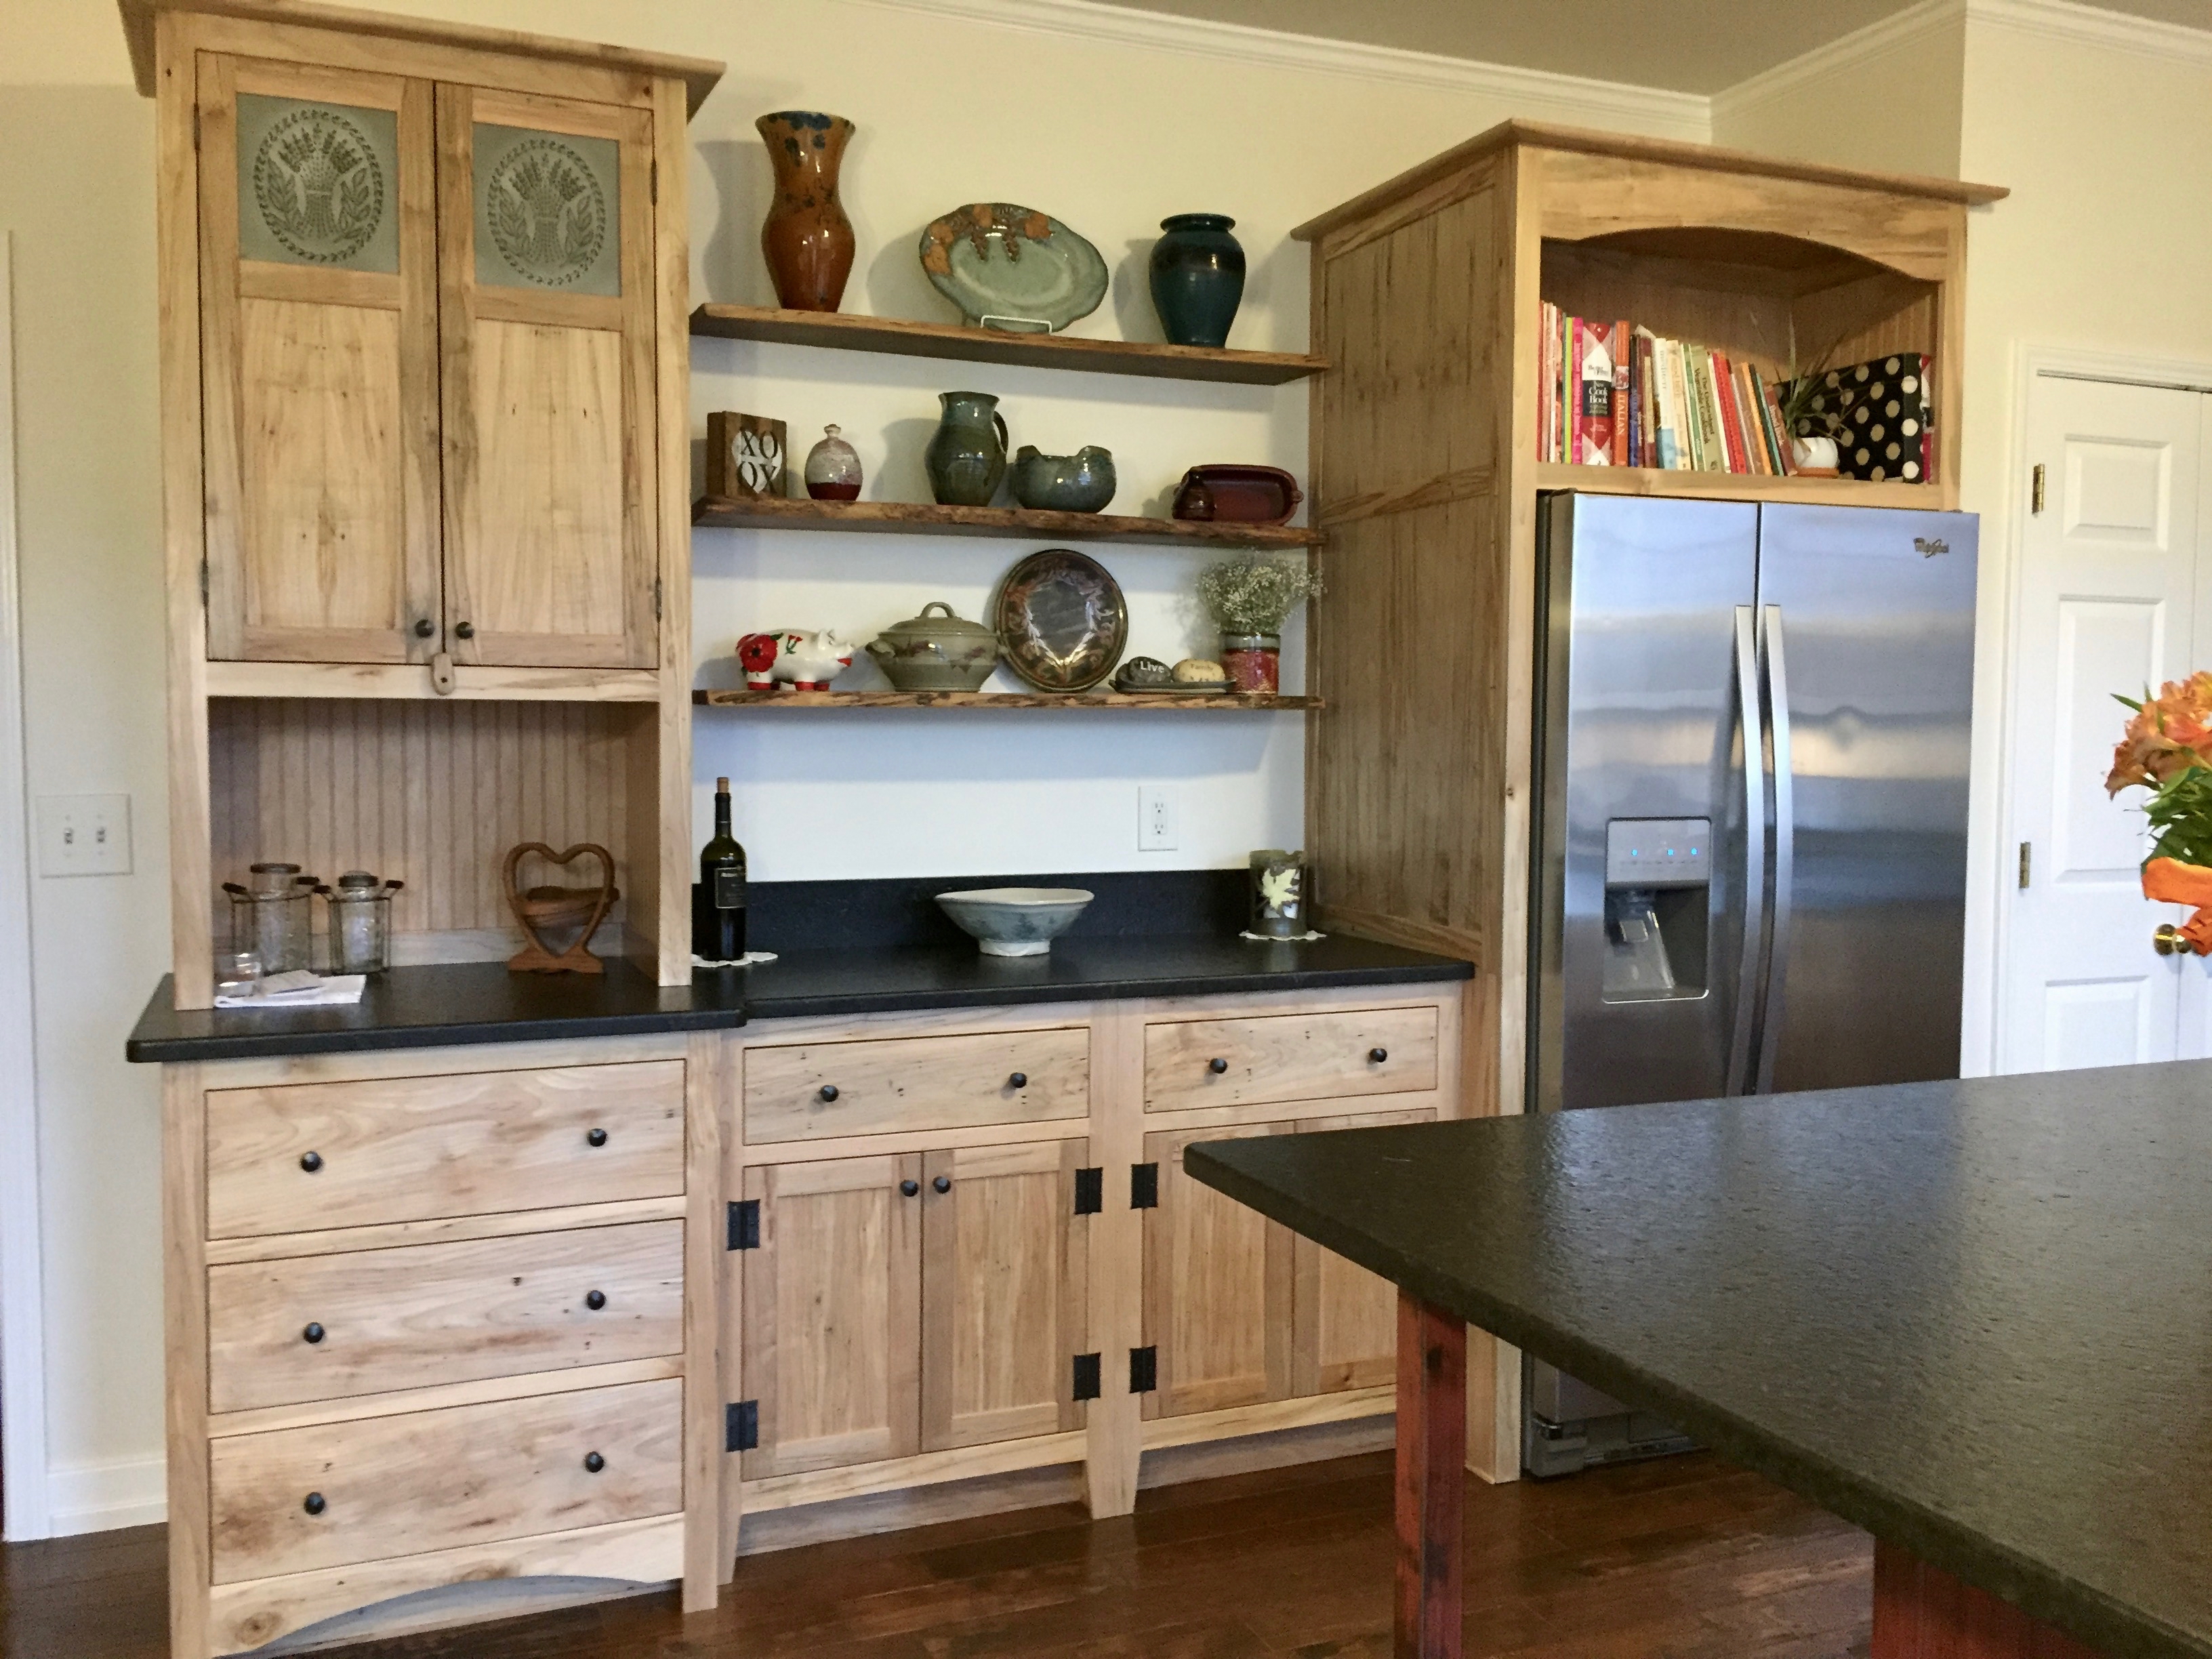
2016 was better. I stayed injury free (though I was sad to have to give up running—doctor’s orders). I worked on the kitchen from late-January to late-November. That was a very satisfying accomplishment. Along the way I also built a few Christmas gifts. More importantly, Dawn and I renewed our vows to celebrate our 30 years of marriage.

Kitchen Island
And 2017? What do you hold? Well, for starters let’s be more disciplined about my fitness. Sure, I went to the gym regularly through 2016, but I never worked hard. I was too afraid to re-injure my back. And anyway, I spent most of January and February just learning how to walk normally again. As a result my waistline is growing beyond what it should be, my cardio fitness is pretty bad and I’ve lost a ton of good, solid muscle strength. So, let’s be more ambitious. Let’s make a few reasonable fitness goals and specific workout plans to achieve them. I’ll start by taking up swimming twice a week. (I kept saying I would after the kitchen was finished. Time to put my money where my mouth is.)

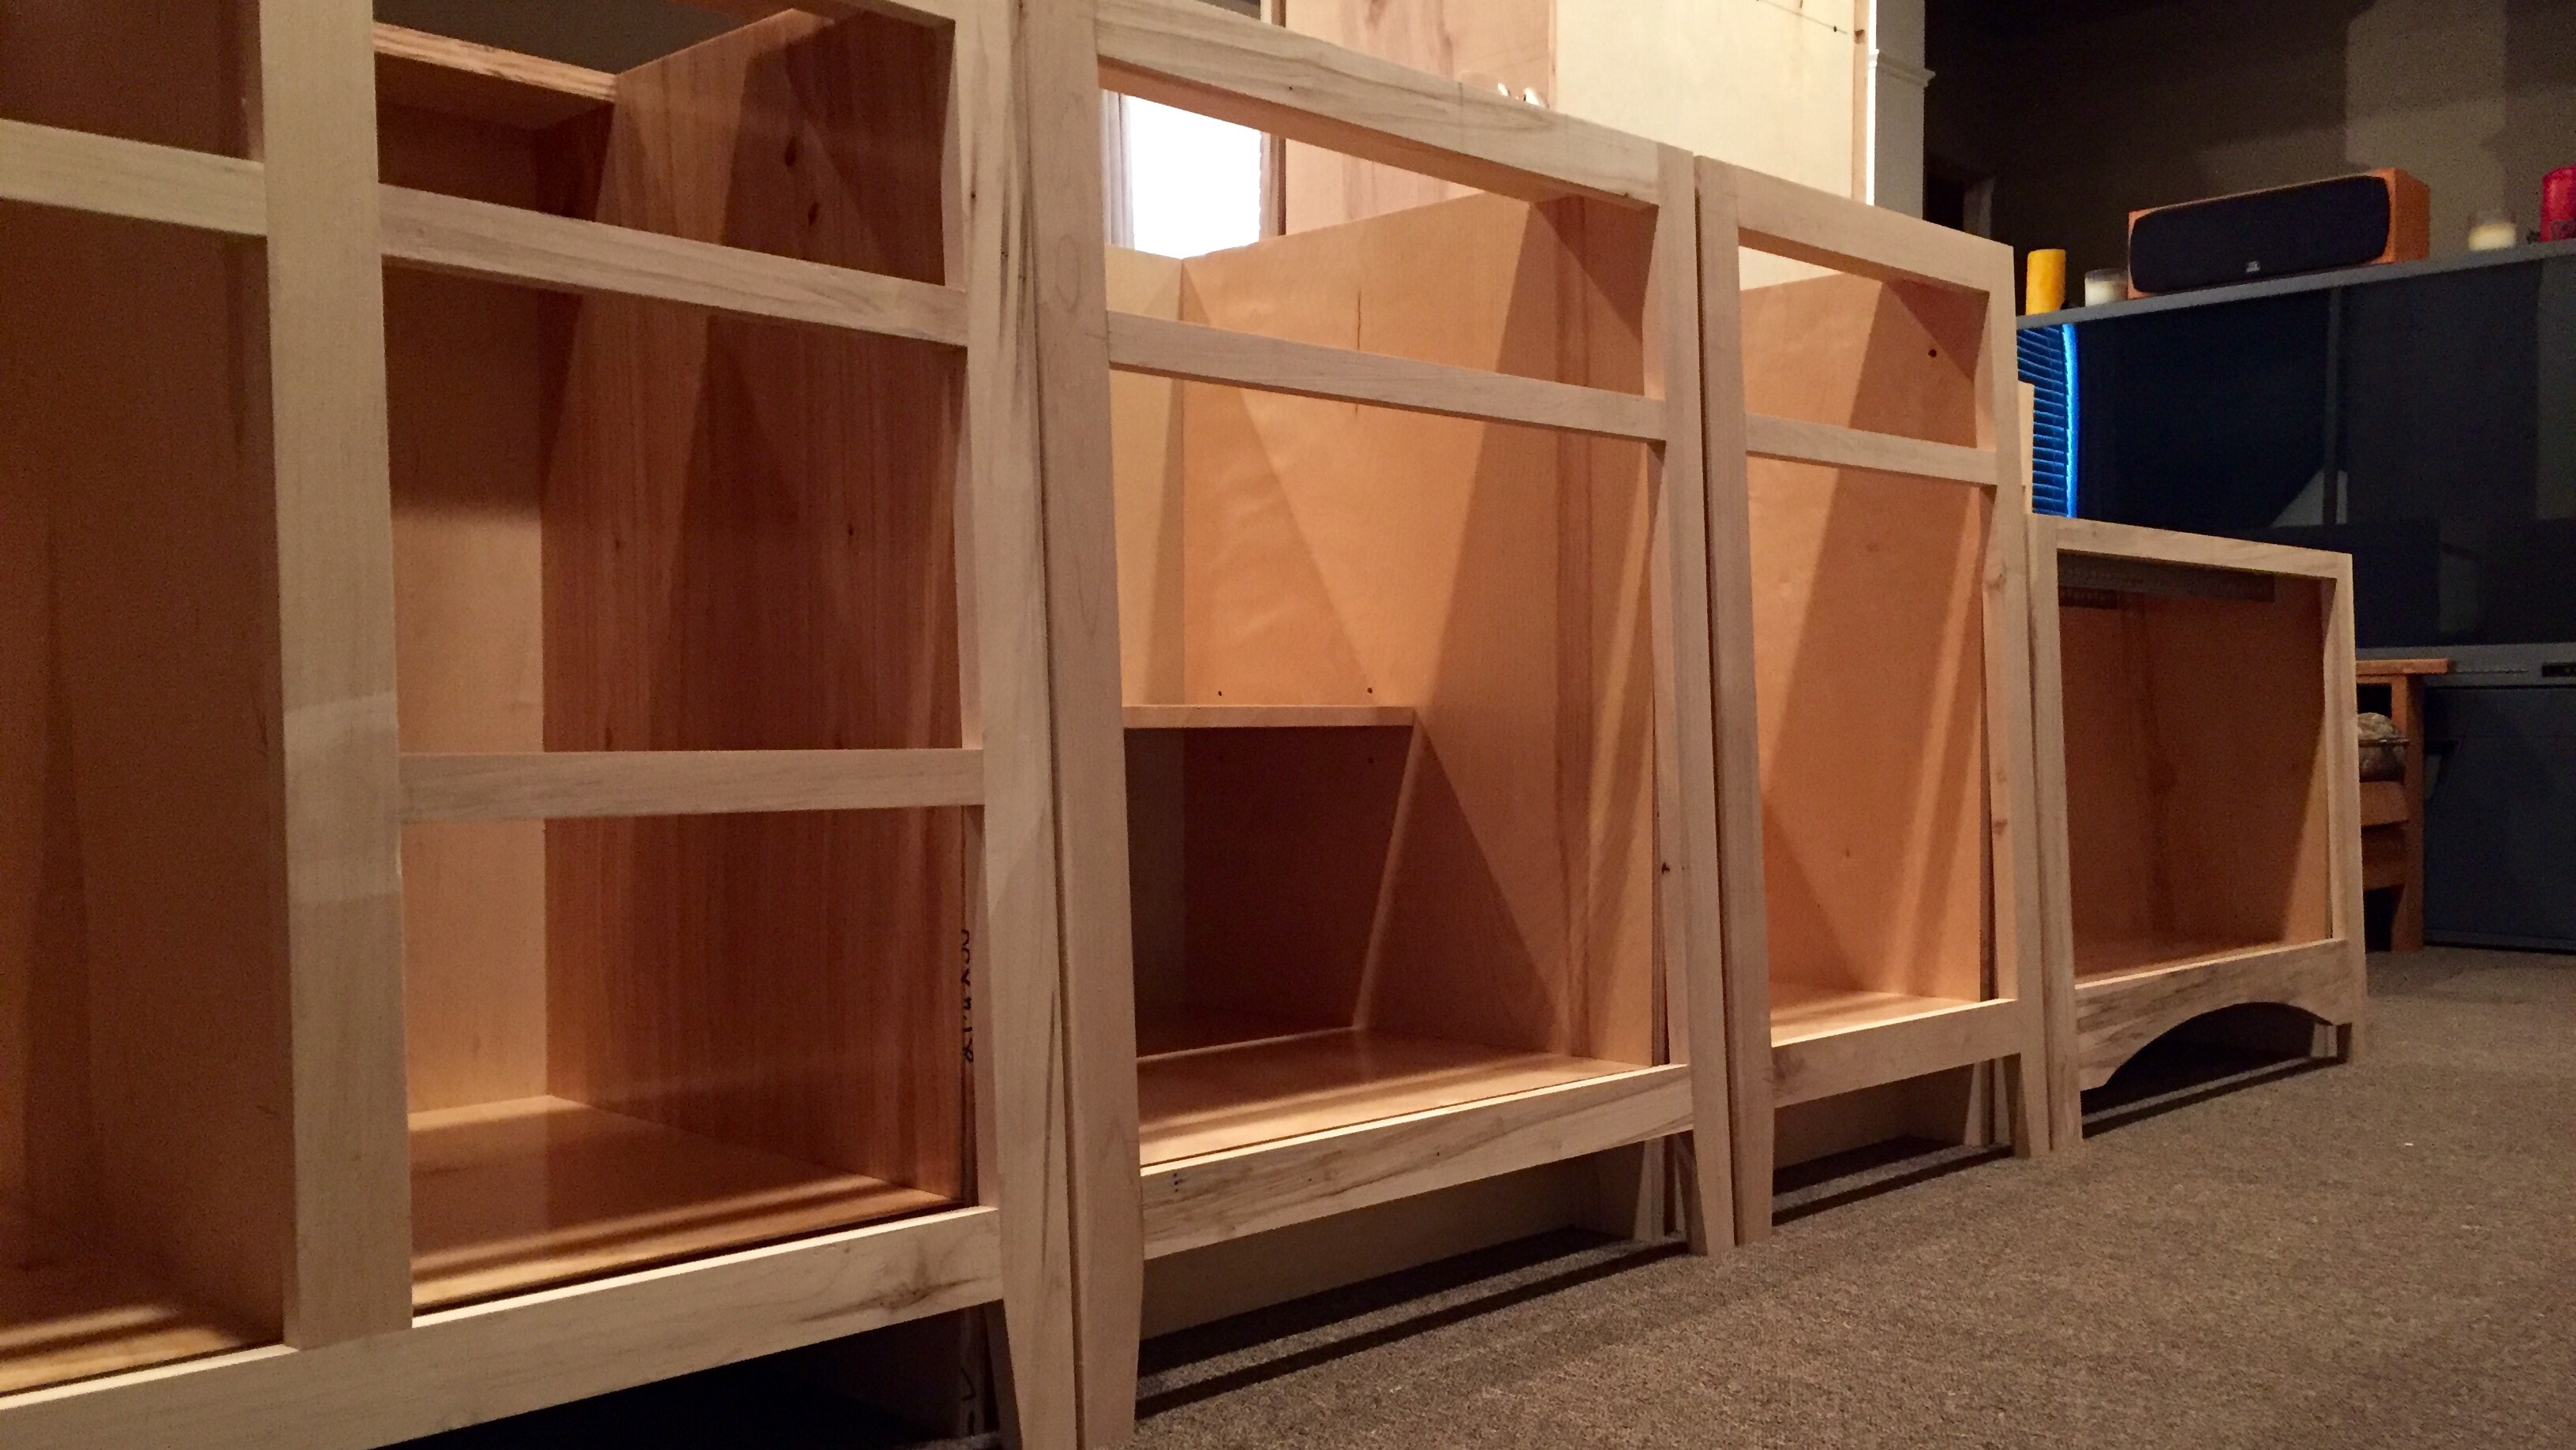
Hutch and Chest with Shelves
Around the house, I’ll build a new pantry for Dawn. Then, I’ll remodel the half-bath with a rustic vanity made from pallet wood, and topped by a pottery vessel sink. What about the deck though? It’ll be 15 years old this year and looks pretty bad. Hmmm… there are budget considerations. The roof and gutters need some repair and I’ll have to hire someone. We’ll have to see about the deck.
What about blogging? Yeah, I had to put that off during the kitchen build epic. It’s time for a reboot. I’m amazed that, even neglected, it still had over 100,000 page views in 2016. But, I really would like to produce 20-30 new posts this year.
And your spiritual life? Yes, that’s a big deal. I plan to read through the entire Bible this year. I actually started in November and I’m up through Deuteronomy 20. (BTW, who knew that one of the best-known blessings—even non-Christians have heard of—is found in the book of Numbers of all places??
“The LORD bless you and keep you;
The LORD make His face to shine upon you and be gracious to you;
The LORD lift up His countenance upon you, and give you peace.”
—Numbers 6:22-24
Love that. Thank you Father for Your commitment to bless your people with everlasting kindness.) I also plan to start a new men’s discipleship group that will meet in my home. Oh, how I’ve missed the blessing of those deep connections.
Floating Shelves with Pottery
Finances? Yes, the budget is planned for the year. Giving? We added two more ministries to support. Projects at the office? Still a little slow; I hope to be more engaged next week. Vacation plans? Not sure yet, but I’m hopeful. Starbucks card? Re-charged. :)
Okay 2017, let’s get things in gear! We have places to go, things to do/fix/build, people to see, and I love going, doing, and seeing.
What’s on your 2017 radar?